- Published on
Setup Productivity with Mac M1
- Authors

- Name
- Vinayak Ganapuram
- @vinayakkg
Recently had a chance to setup my new Mac Mini M1 and new M1 laptop. I thought I will document my experience along with the scripts and detailed notes. The aim is also help my friends/peers from the non-tech side to get benefitted with this. I know a lot of them who have got their new Mac M1 laptops and are eager to get the best out of it. I am certain this will not only help them setup but also help them become productive with their machines.
The entire setup and steps discussed here will be useful for anyone looking to setup a new Mac M1 laptop/desktop. I have also provided necessary scripts below to make sure you can install all at once. If you are looking to reset your existing machine and setup fresh, there are some additional steps which I recommend looking up in my previous blog.
Background
The setup and installation steps are mostly from my previous blog post on setting up Mac Intel. You can still find it on my blog. This blog will focus on M1 architecture of Mac. M1 architecture is a ARM-based System on a Chip (SoC) chip that integrates several different components, including the CPU, GPU, unified memory architecture (RAM), Neural Engine, Secure Enclave, SSD controller, image signal processor, encode/decode engines, Thunderbolt controller with USB 4 support, and more, all of which power the different features in the Mac. If you would like to know more about the new M1 and other technical details, suggest reading it this article.
This new M1 architecture also lets you run iPhone apps on your desktop or laptop.
This blog can also be considered as a complete guide to setup a new MacBook without having to worry about spamware/malware/adware, they are all tested by me personally and have helped me from time to time. Since tools are continuously evolving, I will make sure to keep it updated as I change things at my end.
Even in this installation the focus is to install brew as a non root user and I also like the fact that I get to define the install path for the programs that I install. Along side that I have also reviewed and changed some of the tools that I have been using on my computer.
Setup ⚙️
Connect Apple ID
Power on the computer and you will be guided through steps to setup few things including creating a user. Remember the user created at this point is user having administrator permissions - which means it has access to everything on your machine, more on that later.
Once the OS is downloaded and setup, you will be asked to choose some settings for transferring data, location, et al. You may follow this guide for those steps.
When asked, connect your Apple ID to be able to synchronize other devices, previous install settings, et al. You may create one if you dont have an Apple ID yet. its worth it to secure your data and devices. I personally connect my Apple ID as it lets me synchronize my app settings (Stocks, iBooks, Podcasts, Weather, etc.), Send/Receive calls and messages from Mac if you own an iPhone, Copy/Paste between apple devices/Airdrop, Find my Mac, et al. Find my iPhone saved my bacon once, its highly recommended you turn this on. I love Books since its based on open epub format and I can read all of my Oreilly subscription books & other purchases on Apple devices. I own a Kindle but prefer reading on an iPad. How I use the iPad is up for another post.
Create Standard User (Optional)
This step is purely optional and is needed only if you want to segregate administrator and non administrator account. I generally seperate them to accidentally not do something unintended. You may use this link on how to do this. Once you create the admin user, you may convert the user created in previous step to a standard user, which will be your account to use for your daily work. Remember we don’t want an admin/root account for our daily use. Once the standard user is created, login to the standard user account on your device and follow the rest of the steps so that it is ready for our use.
Install XCode-Select
Open your terminal now to install xcode-select tool which is required for installation of software using a script. We dont want to sit and keep downloading and clicking on setups. To open terminal press (Cmd+Space) on your keyboard and type terminal and press enter.
Now on the terminal prompt, type the following command xcode-select --install This will download the necessary packages from Apple and install as well.
Once this is completed, head to the next step.
Homebrew Install
Brew is basically a package manager that lets you install everything you need using a command line terminal without having to download and run the installer separately. It installs all software from genuine/trusted sources. Its also open source, you can poke around and check it if you wish.
Now, Go back to your terminal and type the below command. /bin/bash -c "$(curl -fsSL https://raw.githubusercontent.com/Homebrew/install/HEAD/install.sh)"
This command will install the brew package manager on your system and you will be able to install other packages that you need.
Homebrew install - Non Root (Optional)
The steps needed for Non root(Standard) user installation are slightly more than steps needed for root user installs. The additional steps will help you segregate responsibilities and have better control over your system.
Below are the steps you need to follow in this section.
- Choose a custom folder where you would like all the applications to be installed.
- I chose Install folder in
$HOMEdirectory and you may run the following commandmkdir -p ~/Install/usr/local- this command creates all the directories with the exact structure as defined/usr/localis the default brew path, we are overriding here so all packages go in one single folder (~/Install/usr/local) and we can delete/modify whenever needed without having to worry if any other apps rely on it.
- Now install
brew. In order to install in custom directory, have modified the brew script. You may download the install script from here. - Once you download this script in
~/Installfolder, runchmod +x Install.rb - Now set the
HOMEBREW_PREFIXvariable for this user so that its available throughout. You may use .profile or .bashrc. or .zshrc based on your preference. Run the below 2 commands to set theHOMEBREW_PREFIXvariable and to set thePATHvariable.echo "export HOMEBREW_PREFIX=/Users/vg/Install/usr/local" >> ~/.zshrcecho "export PATH=/Users/vg/Install/usr/local/bin:$PATH" >> ~/.zshrc
- Open new shell or do a
source .zshrcfor the new variables to take effect else the installation wont be as desired. - Now run the command
./Install.rb ~/Install. This will install brew in~/Install/usr/local
Once this is complete, brew will be installed and will be available to query from all paths; we had set brew install path in PATH. Lets look at next steps
Install UI Apps 🚀
Here is the Apps list. You may download this file to any directory and run the below command. Each line in the file represents an application, you may remove anything that you don't need and things will still work fine.
lets begin installing now brew install --cask $(<brew-cask.txt)
Lets try and go through some of the important apps and the way I setup which could be helpful for a lot of folks
AppCleaner
This application can help you clean/remove applications completely from your system. Not needed if you dont care about full removal.
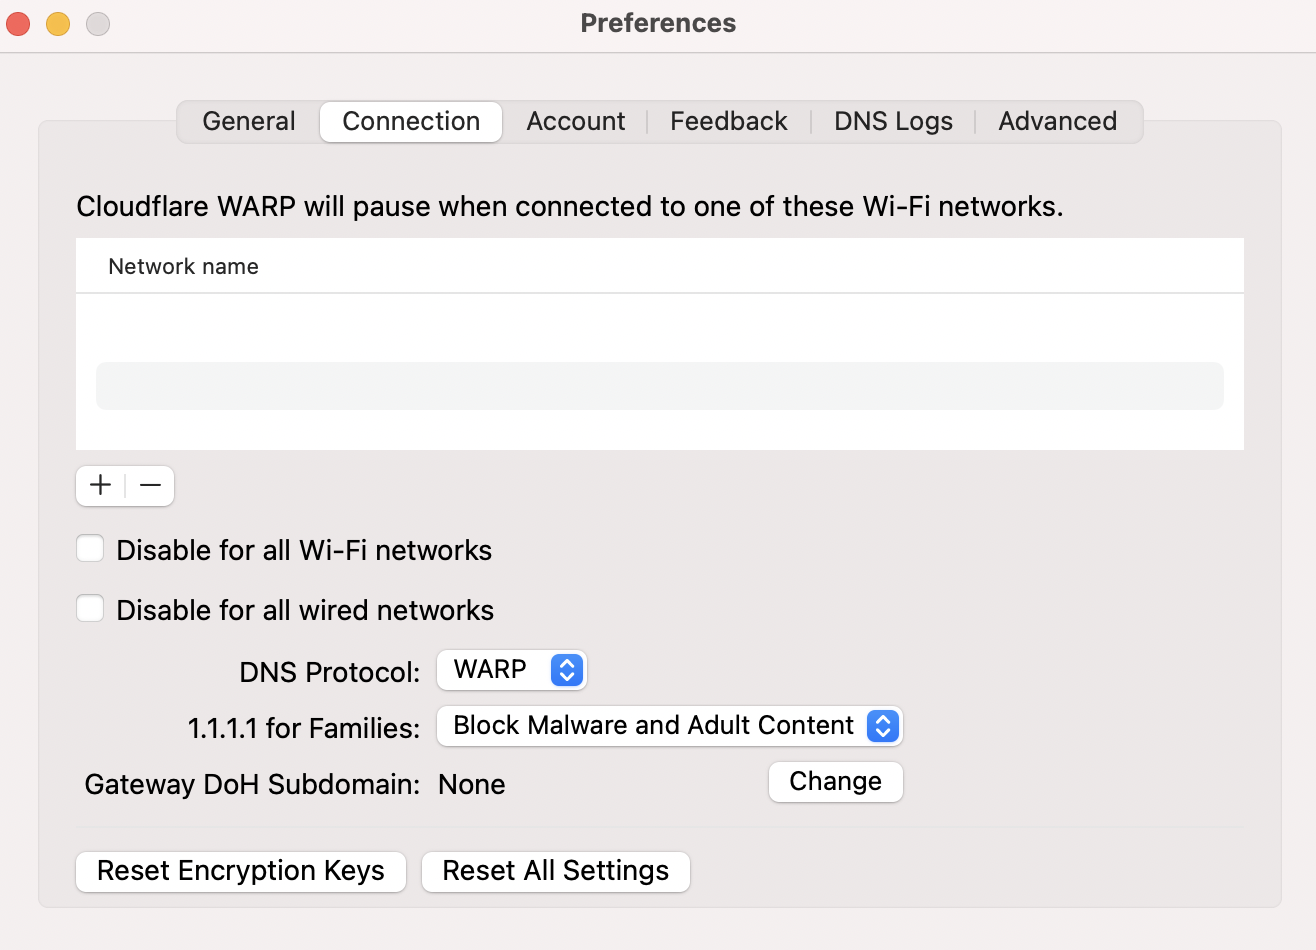
cloudflare-warp
This application by Cloudflare will help you route all dns queries through this. It also has malware and adult content blocker. Also keeps all your dns queries private. Highly recommended. I use with WARP by default - handy when you are travelling and use hotel wi-fi 🤫
Books
I use Books app to read books on my iPad and when possible on laptop, so I make it a point to install on my devices.
CotEditor
I use this along with sublime and I have found it quite handy, better than default textedit - its [open source](coteditor/CotEditor: Lightweight Plain-Text Editor for macOS (github.com) and launches quickly
DBeaver
This is for a developer tool. This [open source tool](dbeaver/dbeaver: Free universal database tool and SQL client (github.com)) had some issues in the past but has really come full circle and is my default tool for any AWS Athena related queries. The intellisense/auto-complete support is quite good and can be used for many other databases (MySQL, PostgreSQL, SQLite, Oracle, DB2, SQL Server, Sybase, MS Access, Teradata, Firebird, Apache Hive, Phoenix, Presto, etc) and have really liked mysql support.
Dozer
This tiny open source tool allows you to hide unwanted app icons in menu bar, quite handy to declutter when using laptop/small screen.
Forticlient VPN
I was tired of the forticlient java application, was not responsive most times(even on Mac M1), used to hang and keystrokes would get delayed. Finally with Mac M1, I am able to use the iPhone app (a little buggy currently), that does the same work and is responsive.
iTerm
If you use terminal heavily and are looking to optimize your workflow and enhance productivity, look at [iTerm](gnachman/iTerm2: iTerm2 is a terminal emulator for Mac OS X that does amazing things. (github.com). I am exploring tabby more recently.
IINA
Its the most modern video player for MacOS. Its much better than VLC and lets me play youtube playlists(ignored for a long time) right from the tool without having to go to youtube. And its open source too.
Itsycal
Its a very neat app that allows me to see the entire calendar from the menu bar. Has been a real time saver. It has good support for different font size, highlighting certain weekdays and of course multiple accounts in one place. Open source link
Kap
Its an open-source screen recorder built with web technology. I find this one of the smooth, lighter & fast performing gif creator from screen recorders.
Karabiner
You are used to windows shortcuts and want to feel at home on Mac OS, Karabiner is for you. It lets you customize every key combination and works across the entire system.
KeepassXC
We all have passwords and its extremely unsecure if you use same username/password everywhere. KeepassXC creates a database (kdbx) locally on your machine to store the data and is encrypted by a password. It also lets you increase the iterations of encryption on the password to make it extra safe.
Bonus Tip: Use Have I been pwned to see if your credentials were ever compromised.
Meld
This is for a developer tool. You are a technologist and you would like to verify if two versions of the same document are same. Meld can do that for you. You dont have to upload your files on the internet and have them compromised. Read more here and its open source as well. It also has a 3-way comparison and defenitely an upgrade from K-diff and winmerge.
Microsoft Edge
Microsoft gave up on their own browser efforts and started using Google's own chrome browser source and packaged it as Edge. All chrome extensions work and its not resource hungry at all. :) You will love this if you have been concerned of Chrome's resource consumption and make your slow system more responsive.
Overcast
With the Mac M1 now you can install some of your favorite iphone apps. I have been using Overcast for the last few years and its the best app for Podcast listening. Its smart speed (shortens silences in talks) and voice speed have kept me hooked. And its created by Marco, the creator of instapaper.
Sloth
If you ever spent time running lsof to check open files/sockets trying to understand application working/network connections, you will find this quite useful. It has a nice GUI to list open files/sockets/pipes, etc and is quite fast as well. Its open souce and has come very handy.
Spectacle
Its a window manager. if you are annoyed by the default usage of the screen real estate by each application, you will love this one. No more swipe left/right. It also helps manage windows on a large monitor, has great support for keyboard shortcuts. I use this all on the time on my big monitor. Spectacle source is here
Skim
Skim is a very lightweight PDF viewer. its lets you add comments/highlight/add notes, et al. very easily. It also has a bookmark/favorites manager like browser with the added ability of being able to restore from previous closed session. This is one of the best PDF tools on Mac OS, you may trust my experience/judgement on that. Learn more about skim.
Stats
Working from home can be really painful sometimes when you get slowed down while working and you dont know what's slowing you down. Stats lets me see the CPU consumption, RAM consumption, network consumption, GPU, etc. all the time right from the menu bar. The network speed is especially helpful on teams/zoom calls when team tells you are not audible, a quick look on network metrics tells you the truth :). And lots more to monitor, very handy and open source as well.
TablePlus
This is for a developer tool. TablePlus is yet another open source tool and one of my favourites for querying mysql data, allows creating snippets via shortcuts. Highly recommended. The free version allows 2 databases to be open at a time and 2 tabs each, quite a lot for my current needs.
Tor Browser
Tor is Firefox's fork and lets you browse anonymously from across the world. It works on onion network. You can easily change network between various requests.
Trailer
This is for a developer tool. If your job involves reviewing source code hosted on github, you will find this quite handy. It lets you even track github issues and its of course open source.
Tunnelblick
The best Open VPN tool out there. Its open source and thats it.
Turbo Boost Switcher
How many times you noticed your Macbook went bonkers and is spinning the fan crazy? Turbo Boost is your friend here - lets you control the CPU, etc. I don't need this on M1 anymore.
Typora/Zettlr
If you are into markdown writing/editing, you will need this. I like zettlr more for the colors and rendering. Both are equally good.
Whatsapp Dekstop
With the release of WhatsApp Multi Device Beta you can now use Whatsapp on max. 4 devices even though the Whatsapp on mobile phone does not have network coverage. This used to be a struggle for some guys, multi device feature is a real boon. I am not a Whatsapp guy but I know for some its the lifeline.
Brew CLI Apps (Not for all :)) 💻
You don't have to install the below tools if you are not comfortable with command line and are more of a GUI person. This list is here for cli. You may download the entire list in your ~/Install folder and run the following command to install all command line apps. brew install --cask $(<brew-cli.txt)
Lets Talk about some excellent cli apps
awscli
If you are a developer, awscli is definitely needed and is must in your arsenal.
bat
Tired of cat and looking for better version of cat? Its called bat. Yes you heard that right.
cheat
cheat is community driven collection of cheatsheets of various cli tool examples/options that is aiming to give you contextual information and save you time.
dog
dog is a better version of dig. It simplifies querying domain data.
duf
I find df (display free space) very boring. duf adds colors and show data in beautiful tables in human readable format.
dust
dust is a better version of du written in Rust and shows a tree view of the space utilized in any directory you wish to query.
cloudman
I love cloudman. It lets me manage the EC2 instances in any account & also lets me directly ssh/login to a EC2 instance without having to go through the arduous task of managing ssh config and pem files. Life saver for anyone who has gone through the pain of managing them. The only requirement is it needs tmux installed and SSM has to be enabled on your AWS account. I wont talk about SSM here, it needs a blog post of its own.
emojify
Very handy utility for pasting emojis that are markdown compliant as well.
exa
Bored of ls? Try exa and I bet you wont again ls.
fd
fd is a much better find alternative that lets you open the file from command line.
ffmpeg
A complete, cross-platform solution to record, convert and stream audio and video. Very handy for clipping audio video from big files.
gh
gh is github's command line tool that lets you even create PR's from command line post pushing commits.
git-delta
I hate the default git-diff. This one allows side by side diff on command line.
glances
Glances is much more than htop, includes a XML-RPC server and a RESTful Json API to query data and to even monitor system on browser with a rich data export feature.
glow
If you would like to view markdown files without leaving your terminal, you will need this tool.
goaccess
This is a useful tool to understand & mine weblogs, worth of its own blog post. Lets you easily build dashboard and understand traffic patterns
gping
Ping, but with a graph.
jq
jq is like sed for JSON data - you can use it to slice and filter and map and transform structured data. Very handy for processing output. e.g. aws cli, gh cli, etc.
ngrep
ngrep is like grep applied to the network layer.
ncdu
Ncdu is a disk usage analyzer with an ncurses interface. It is designed to find space hogs. The keyboard integration is quite impressive, use it all the time.
pdfgrep
You remember some text but dont remember the pdf file name. This commandline utility to search text in multiple PDF files.
visidata
Play with csv files within the terminal. Opens large files(1M+ rows) without any issues.
speedtest-cli
Want to check internet speed quickly? No need to use the speedtest website. Run speedtest-cli from your terminal.
starship
The minimal, blazing-fast, and infinitely customizable prompt for any shell. Shows git status, programming language with version info & also shows the aws region configured. Quite handy, can't image a bland command prompt now.
tldr
TLDR is the "too long didn't read" version for command line applications. Its very useful and gives succint one liners than a huge man page for command line apps.
tokei
It gives you statistics about your code. Tokei will show the number of files, total lines within those files and code, comments, and blanks grouped by language.
wifi-password
Get wifi-password in one command.
vegeta
Vegeta is a versatile HTTP load testing tool and can request HTTP services with a constant request rate. It can be used both as a command line utility and a library.
Overall Experience with M1 ♥️
Faster and smoother I have been using the new Mac Mini M1 with 8 GB RAM since June and I must say its faster than my Intel MBP 2019 with 16 GB RAM. The experience has been really smooth and have not experienced any sluggishness or glitches so far inspite of the same workload (VS Code, Browser with ~50 tabs, Intellij Idea, Visual Studio, TablePlus, VPN, Onenote, DBeaver, et al.)
Cool as nothing The entire system just stays cool without any CPU heating and fan rarely rotating. The temperature on M1 stays ~ 35 degrees C compared to 80-90 degrees C on my MBP 2019. And on my MBP 2019, I had to use Turbo Boost Switcher to keep the laptop cool. It feels like M1 is running nothing.
Battery Charge lasts longer My MBP 2020 M1 lasts for more than a day with the same usage.
Apps situation Some of the apps were not working, I remember initially Java did not get installed with brew commands that I used for Intel MAC, but thats not the case now. DBeaver also had some challenges, but they seemed to have handled now. Most of the apps now have a dedicated ARM app for Mac M1. Also, MAC OS automatically suggests installing Rosetta if it finds an incompatible app. If you want to know if your favorite app is M1 ready, you may find it here.
Overall great experience I am personally very happy and pleasantly surprised with the performance. It costs lesser than Intel MACs and also consumes less energy.
References
https://www.arm.com/why-arm/architecture/cpu
https://www.macrumors.com/guide/m1
https://debugger.medium.com/why-is-apples-m1-chip-so-fast-3262b158cba2